How to Bake Bakery-Quality Scones at Home
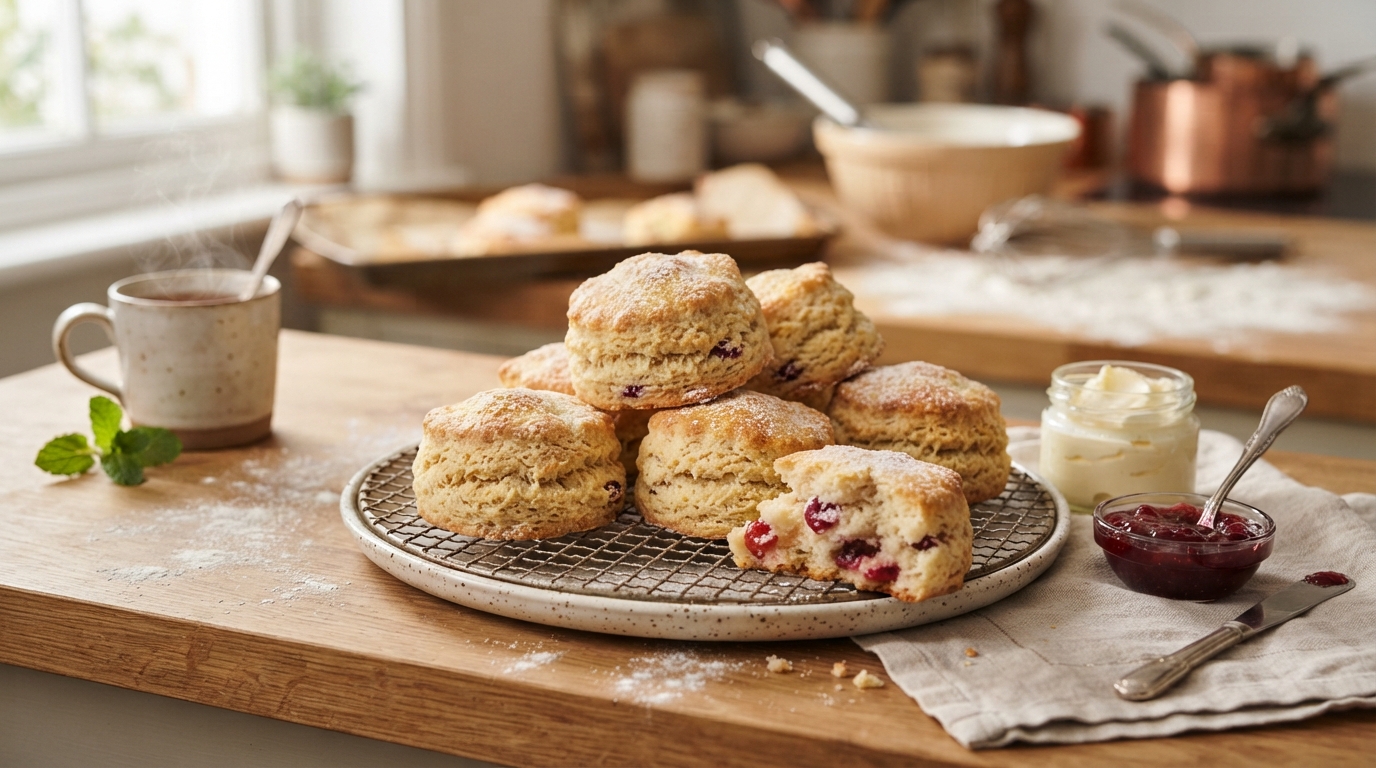
There’s something magical about a perfectly baked scone. The golden-brown crust, the tender, flaky interior, and that irresistible butteriness — it’s the kind of treat that makes you feel like you’re sitting in a quaint café in London or a cozy bakery in Vermont. But here’s the secret: you don’t need a professional oven or a pastry chef’s diploma to achieve that same bakery-quality result at home.
With the right technique, a few simple ingredients, and a little bit of patience, you can bake scones that rival anything behind a glass display case. In this guide, I’ll walk you through every step — from choosing the right flour to knowing exactly when to pull them from the oven. Let’s get your hands a little floured and your kitchen smelling amazing.
Why Homemade Scones Often Fall Short — and How to Fix It
If you’ve ever tried baking scones at home and ended up with dense, dry hockey pucks, you’re not alone. The most common mistakes are using warm butter, overworking the dough, and guessing the hydration level. The result? Scones that spread flat or turn out tough.
Bakery-quality scones start with one non-negotiable rule: keep everything cold. Your butter, your cream, even your bowl if possible. When cold butter hits the hot oven, it creates steam pockets that lift the dough, giving you those beautiful flaky layers. Warm butter melts too fast, and you lose that lift entirely.
Another fix: use a light hand. Mix the dough just until it comes together. If you see streaks of butter, that’s actually a good sign. Those streaks are responsible for the tenderness you’re after.
The Core Ingredients for Bakery-Quality Scones
You don’t need fancy ingredients, but quality matters. Here’s what you’ll need for a foolproof batch:
- All-purpose flour (or pastry flour for an even more tender crumb)
- Cold unsalted butter — cut into small cubes and chilled again
- Cold heavy cream or buttermilk (for richness and acidity)
- Baking powder and a pinch of salt
- Granulated sugar (just enough to enhance, not overwhelm)
- Optional: vanilla extract, lemon zest, or dried fruit
The ratio is key: for every 2 cups of flour, use about 6 tablespoons of butter, ½ cup of cream, and 2 teaspoons of baking powder. Scale this as needed, but never eyeball it. Baking is chemistry, after all.
Step-by-Step: How to Bake Scones Like a Pro
1. Prep Your Ingredients and Tools
Start by measuring everything. Cut your butter into small cubes and place it back in the fridge. Sift your flour, baking powder, salt, and sugar together into a large bowl. Get a baking sheet ready with parchment paper.
For the best results, chill your mixing bowl and even your hands if possible. Every bit of cold helps. If you’re feeling extra ambitious, pop your cream in the freezer for 10 minutes before using it.
2. Cut the Butter Into the Flour
Using a pastry cutter or two forks, work the cold butter into the flour mixture until it resembles coarse sand with a few pea-sized butter lumps. This is the sweet spot. Too fine, and your scones will be dense. Too chunky, and they may not rise evenly.
3. Add the Liquid Gently
Make a well in the center and pour in the cold cream (or buttermilk). Use a fork or your fingertips to bring the dough together. Stop as soon as it forms a shaggy mass. If the dough feels dry, add a splash more cream — but don’t overdo it.
4. Shape Without Overworking
Turn the dough onto a lightly floured surface. Pat it into a rectangle or circle about ¾-inch thick. Fold it over itself once (this creates layers), then pat back to the original thickness. Use a sharp knife or bench scraper to cut squares or triangles. Avoid twisting a round cutter — that seals the edges and stops the rise.
5. Chill Again Before Baking
Place the cut scones on your lined baking sheet and refrigerate for at least 15 minutes. This step is crucial for the flakiest, tallest scones. While they chill, preheat your oven to 400°F (200°C).
6. Brush and Bake
Brush the tops with a little extra cream or an egg wash (1 egg + 1 tablespoon water) for that glossy, golden crust. Bake for 15–18 minutes, until the bottoms are golden and the tops are lightly browned. Don’t overbake — dry scones are sad scones.
Flavor Variations and Mix-Ins You’ll Love
Once you’ve mastered the base recipe, the world of flavor opens up. Try one of these combinations:
- Classic currant scones: Add ½ cup dried currants and a teaspoon of orange zest.
- Cheddar and chive: Omit the sugar, add 1 cup grated sharp cheddar, 2 tablespoons chopped chives, and a pinch of black pepper.
- Lemon-blueberry: Fold in ½ cup fresh or frozen blueberries (don’t thaw) and 1 tablespoon lemon zest.
- Chocolate chip: Use mini chocolate chips so they distribute evenly without sinking.
For a savory brunch twist, pair these scones with a simple egg dish. You’ll find plenty of inspiration in our kitchen tips and meal prep section for making ahead and reheating.
Baking Schedule: Temperature and Time Reference
Getting the timing right can make or break your batch. Here’s a quick reference table for different scone sizes:
| Scone Size | Thickness Before Baking | Oven Temp | Baking Time |
|---|---|---|---|
| Small (2-inch rounds) | ¾ inch | 400°F (200°C) | 12–14 minutes |
| Standard (2.5-inch triangles) | ¾ inch | 400°F (200°C) | 15–18 minutes |
| Large bakery-style (3-inch rounds) | 1 inch | 375°F (190°C) | 18–22 minutes |
Always rotate your pan halfway through for even browning. If you’re baking a second batch, let the sheet cool completely before placing raw scones on it, or the bottoms will cook too fast.
Storing, Freezing, and Reheating Scones
Homemade scones are best the day they’re baked, but you can absolutely enjoy them later. Store them in an airtight container at room temperature for up to two days. To restore freshness, pop them in a 300°F oven for 5 minutes.
For longer storage, freeze the unbaked scones on a tray until solid, then transfer them to a freezer bag. Bake straight from the freezer, adding 3–5 minutes to the bake time. This is my favorite trick for Sunday brunch without the morning rush.
If you’re looking for more simple, make-ahead ideas, our quick and easy recipes collection has plenty of no-fuss options.
Frequently Asked Questions (FAQ)
Can I use buttermilk instead of heavy cream?
Absolutely. Buttermilk adds a subtle tang and creates a slightly lighter texture. Just note that buttermilk scones are less rich than cream scones. Both are delicious — it depends on your preference.
Why did my scones spread sideways instead of rising up?
This usually happens when the dough is too warm or too wet. Make sure your butter and cream are cold, and don’t flatten the dough too thin. Chilling the cut scones before baking also prevents spreading.
Can I use a food processor to cut the butter?
Yes, but pulse carefully. You want to stop as soon as the butter is broken into pea-sized bits. Over-processing will warm the butter and ruin the texture. I recommend the old hand method for absolute control.
What’s the best way to get a golden, glossy top?
An egg wash — one egg beaten with a tablespoon of water or cream — brushed gently on top before baking. It gives that signature bakery shine. You can also sprinkle a little coarse sugar on top for crunch.
Can I make scones gluten-free?
Yes, but you’ll need a high-quality 1:1 gluten-free flour blend that contains xanthan gum. The dough will be wetter, so work it minimally. For more health-focused variations, check out our healthy and special diet recipes.
What’s the best jam to serve with scones?
Classic strawberry or raspberry jam is traditional. For a real treat, serve with clotted cream or a dollop of mascarpone. If you’re feeling adventurous, try a savory chutney with cheddar scones.
Can I substitute yogurt for cream?
Greek yogurt can work, but it will produce a denser, more cake-like scone. If you use yogurt, thin it with a splash of milk to reach a pourable consistency.
Should I use salted or unsalted butter?
Unsalted butter is always better in baking because it lets you control the salt level. If you only have salted, reduce the added salt in the recipe by half.
Conclusion
Baking bakery-quality scones at home is absolutely achievable — and incredibly rewarding. The secret lies in cold ingredients, a light touch, and a little patience with the chilling steps. Once you master this easy scone recipe, you’ll have a versatile base for endless variations, from sweet to savory.
Whether you’re serving them for breakfast, afternoon tea, or a cozy weekend treat, these scones will disappear fast. For more desserts and baking inspiration, browse our full collection of tested recipes. And remember: the best scone is the one you bake with confidence. Happy baking!