How to Organize Your Pantry for Faster Cooking
You open your pantry to grab a can of tomatoes, and suddenly you’re on a treasure hunt. Fifteen minutes later, you find it buried behind a bag of flour you forgot you had. Sound familiar? Disorganized pantries are the number one time-waster in home kitchens. When you know how to organize your pantry for faster cooking, you cut meal prep time in half and actually enjoy pulling ingredients together.
I have organized hundreds of pantries for busy home cooks, and the principles are always the same: visibility, logical grouping, and easy access to high-frequency items. This guide walks you through a pantry organization system that turns chaos into confidence. By the end, you will spend less time hunting and more time actually cooking.
Why a Tidy Pantry Saves You Real Time in the Kitchen
Every second you waste searching for an ingredient adds up. Studies show the average cook spends 6 to 8 minutes per meal just locating items. Over a week, that is nearly an hour of lost time. A smart pantry organization system eliminates that friction completely.
When everything has a home, your brain stops guessing. You grab what you need and move straight to cooking. That mental shortcut is what separates a stressful rush from a smooth evening meal. Plus, you avoid buying duplicates of items you already own, saving money and pantry space.
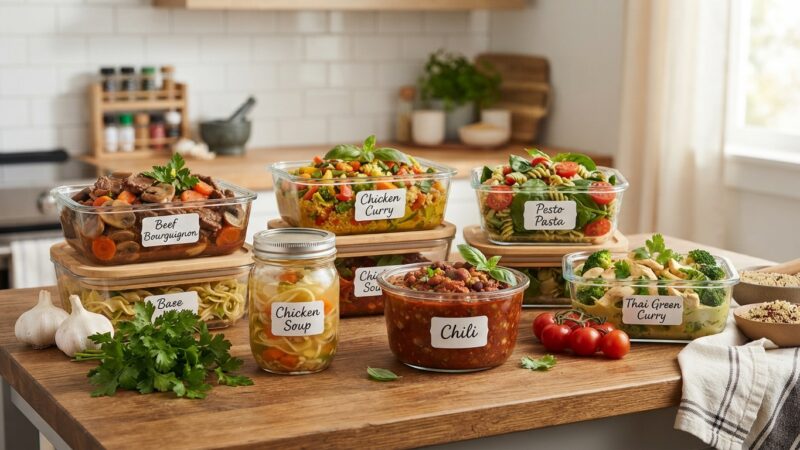
If you pair this system with a solid meal prep pantry setup, you will also reduce daily decision fatigue. A tidy pantry is not about looks—it is about speed and sanity.
Step 1: Empty, Clean, and Categorize Everything
Pull everything out of your pantry. Yes, everything. Place it on your counter or kitchen table. This step gives you a full inventory of what you actually own. You will likely find three bags of rice, a forgotten bottle of sesame oil, and spices that expired last year.
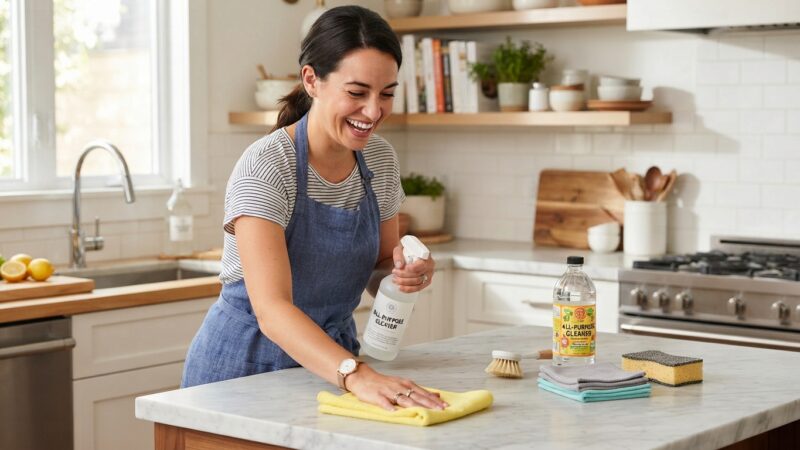
Wipe down every shelf with a mild cleaner while the pantry is empty. Once it is dry, sort all items into broad categories:
- Canned goods (tomatoes, beans, coconut milk)
- Grains and pasta (rice, quinoa, spaghetti, oats)
- Spices and seasonings (salt, cumin, paprika, curry blends)
- Baking supplies (flour, sugar, baking powder, chocolate chips)
- Oils, vinegars, and condiments (olive oil, soy sauce, honey)
- Snacks and quick breakfasts (granola bars, cereal, crackers)
This categorization is the backbone of kitchen efficiency tips. Once you see how many items you have in each group, you can plan where they go based on how often you use them. Discard anything expired or stale immediately.
Step 2: Arrange by Frequency of Use
Think about your cooking patterns. Which ingredients do you reach for almost every day? For most people, that includes salt, pepper, cooking oil, garlic powder, and canned tomatoes. These items should live at eye level or front and center.
Less frequent items—like specialty flours, holiday sprinkles, or that bottle of fish sauce you use once a month—can go on higher or lower shelves. Kitchen efficiency tips work best when the most-used items require the least effort to reach.
I especially recommend grouping your complete meal kits together. For example, keep taco shells, salsa, and refried beans on the same shelf. That way, when taco night comes, you grab one zone instead of running across the pantry. This pairs beautifully with quick and easy recipes that depend on pantry staples.
Step 3: Use Clear Containers and Smart Labels
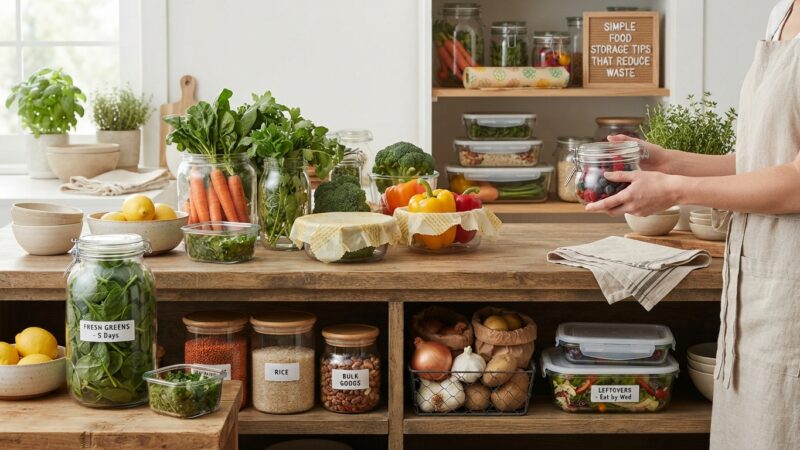
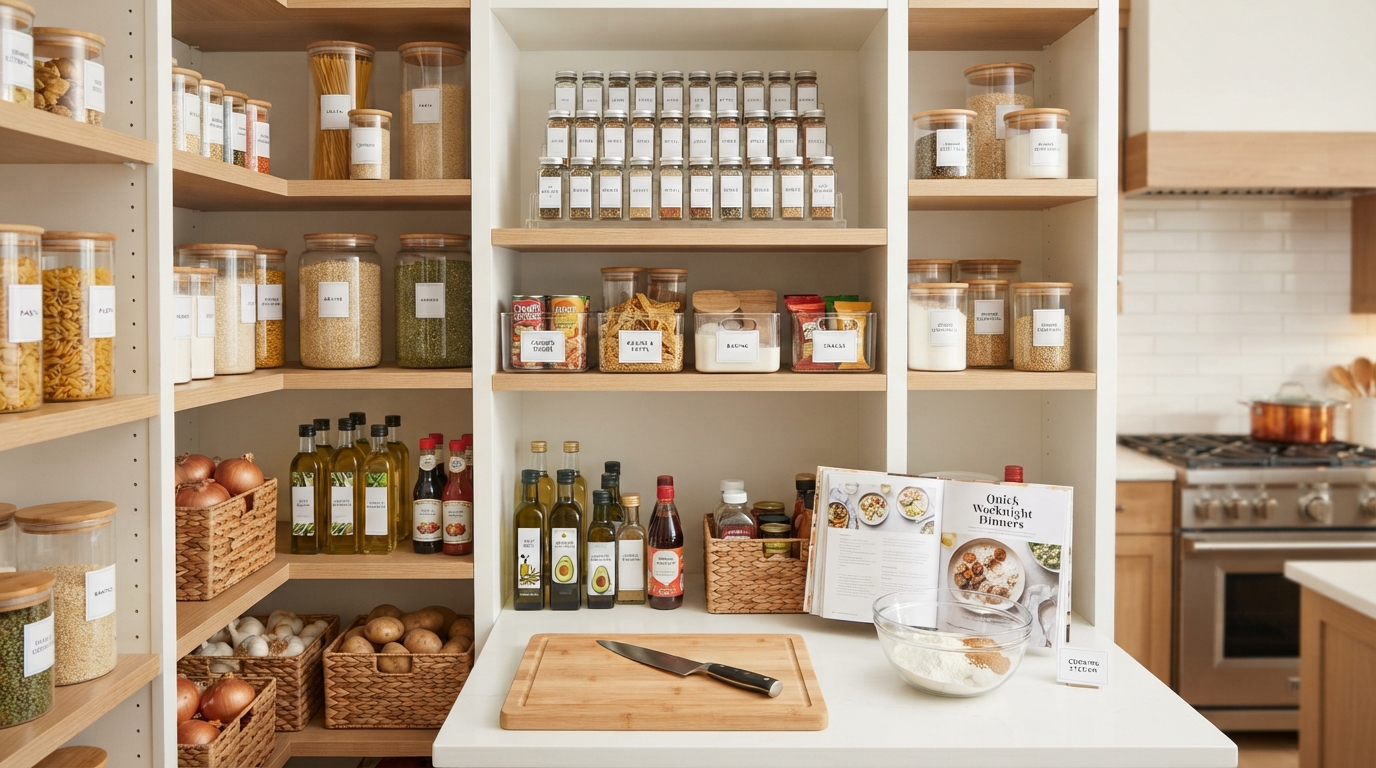
This is the game-changer. Transfer dry goods like flour, sugar, oats, and pasta into clear, airtight containers. You will instantly see when you are running low, and you will never confuse baking powder with cornstarch again. Plus, clear containers keep pests out and freshness in.
Invest in a simple label maker or use removable chalk labels. Label the front and the top of each container so you can read it from any angle. A consistent pantry organization system depends on labels that stay put and are easy to read at a glance.
If you bake often, consider grouping your baking section tightly. Place all sugars, flours, leavening agents, and mix-ins together. Your favorite desserts and baking projects will come together much faster when you don’t have to dig through bags of pasta to find vanilla extract.
Step 4: Install Shelf Risers and Door Organizers
Vertical space is wasted space inside most pantries. Canned goods stack, but you only see what is on top. Shelf risers (sometimes called stair-step organizers) let you see two rows of cans at once. This alone reduces prep time when you are looking for a specific tomato sauce or bean variety.
Over-the-door organizers are excellent for small items like spice packets, bouillon cubes, or seasoning blends. They keep these tiny things visible and off the shelves, freeing up prime real estate for larger items. For meal prep pantry setup, a door organizer dedicated to daily use items—olive oil spray, salt, pepper, vinegar—means you season everything without opening any cabinet door.
Step 5: Implement a “First In, First Out” Rule
This is especially important if you buy in bulk or stock up on sales. When you bring home a new bag of rice or a new jar of pasta sauce, move the older one to the front and place the new one behind it. Train your family or housemates to do the same.
Over time, you will reduce food waste dramatically. Nothing is worse than finding a can of pumpkin puree that expired two years ago. A simple rotation habit keeps your pantry fresh and your cooking reliable. This principle is a core aspect of kitchen tips and meal prep for any home cook.
Sample Pantry Layout for Maximum Speed
Below is a practical example of how to arrange a standard four-shelf pantry. Adjust the zones based on what you cook most often, but keep the high-frequency items at eye level.
| Shelf Level | Contents | Access Frequency |
|---|---|---|
| Top | Specialty items (sake, coconut flour, candy decorations) | Occasional (once a month) |
| Middle | Grains, pasta, canned vegetables, oils, spices | High (daily to weekly) |
| Lower | Heavy cans, water bottles, bulk bags of rice/flour | Moderate (weekly) |
| Floor / Bottom Basket | Potatoes, onions, garlic (cool, dark spot) | High (daily) |
This layout respects gravity and ergonomics. The heaviest and most frequently replenished items sit low. The most-used everyday items stay at eye level. The top shelf becomes a “need to remember” zone for infrequent projects. With this structure, you will wonder why you ever spent minutes hunting for a can of beans.
Step 6: Maintain the System Weekly
Organization is not a one-time project. Spend five minutes every Sunday doing a quick pantry reset. Return stray items to their proper zones, check expiration dates on anything near the front, and wipe down any spills. This small habit prevents the chaos from creeping back.
Seasonal deep dives are also helpful. Before major holidays or cooking seasons (like Thanksgiving or summer grilling), reassess your stock and rearrange to match upcoming dishes. For instance, if you plan to make fall stews, move root vegetables and canned broth to the front. A dynamic pantry keeps you cooking fast all year long.
If you are looking to expand your repertoire, explore some international cuisine that relies heavily on pantry staples. Many global dishes use the same base ingredients, and a well-organized pantry makes experimenting effortless.
Frequently Asked Questions
1. How long does it take to organize a pantry properly?
Plan for about 2 to 3 hours for a full empty-and-reset. The first time takes the longest because you are sorting and discarding. Monthly maintenance takes only 5 to 10 minutes.
2. Should I use bins or baskets for all my pantry items?
Bins work best for small, loose items like snack packs, spice envelopes, or tea bags. For larger items like cereal boxes or pasta bags, leave them loose on the shelf as long as they are visible. Over-binning can actually slow you down.
3. What are the best containers for dry pantry goods?
Clear, square, and airtight containers are ideal. Square containers fit edge-to-edge on shelves with less dead space. Glass or BPA-free plastic both work well. Avoid round containers unless you have deep shelves.
4. How do I organize spices for cooking speed?
Keep your top 6–8 spices (salt, black pepper, cumin, paprika, garlic powder, onion powder, oregano, chili flakes) in a dedicated caddy or on a small lazy Susan right near the stove. The rest can go alphabetically on a pantry shelf or in a drawer.
5. What if my pantry is very narrow or deep?
Use pull-out drawer inserts or tiered shelf organizers to see items at the back. For deep shelves, store similar items in clear bins with handles so you can pull the entire bin forward without upsetting everything else.
6. Can I organize my pantry on a tight budget?
Absolutely. Use cardboard boxes covered with wrapping paper or clean, empty yogurt containers to group items. Start with just a few clear containers for your most-used grains. A system does not require expensive products, just consistent logic.
7. How do I keep children from rearranging my system?
Designate a low shelf or a basket specifically for kid-friendly snacks. Let them know that shelf is theirs to use freely. Explain that other shelves stay organized so you can cook dinner faster for everyone.
8. What is the number one mistake people make when organizing a pantry?
Putting items in a cabinet or bin without labels. No one remembers where everything goes three weeks later. Label every container, shelf, and bin. Labels are the only thing that keeps a system alive long-term.
Final Thoughts: Your Pantry, Your Speed Dial
A well-organized pantry is the single highest-return investment you can make in your kitchen. It reduces stress, saves money, and makes cooking feel like a choice instead of a chore. By following these steps, you now know exactly how to organize your pantry for faster cooking without fancy renovations or hours of daily upkeep.
Start with one shelf this weekend. See how it feels to grab your go-to spices or pasta in under three seconds. Once you taste that efficiency, you will never go back. Your future weeknight self will thank you.
For expert reference on kitchen workflow and ingredient storage, check out resources from Serious Eats or explore the cooking techniques at NYT Cooking. And if you are looking for a practical starter tool to keep grains fresh, confira esta opção for airtight storage solutions that are perfect for keto and low-carb baking ingredients.