How to Store Leftovers Safely and Efficiently
We’ve all been there: you cook a big batch of chili or roast a whole chicken, and suddenly you’re staring at a mountain of leftovers. The question isn’t just what to eat — it’s how to store leftovers so they stay safe, tasty, and ready for tomorrow’s lunch. Get it wrong, and you risk food waste or, worse, foodborne illness. Get it right, and you save money, time, and your taste buds.
In this guide, I’ll walk you through the best food storage tips for keeping leftovers fresh. We’ll cover cooling, containers, fridge layout, and even a few freezer tricks. Whether you’re practicing meal prep safety or just trying to stretch Sunday’s roast, these methods work for every home cook.
Why Proper Leftover Storage Matters More Than You Think
Leftovers are a gift. They save you from cooking on a busy Tuesday and help you stick to a budget. But improper storage can turn that gift into a hazard. Bacteria like Salmonella and Listeria thrive between 40°F and 140°F — the “danger zone.” If you leave food out too long or pack it incorrectly, you’re inviting trouble.
Beyond safety, texture and flavor suffer. Nobody wants soggy fried rice or dry chicken breast. Learning how to store leftovers correctly preserves moisture and keeps herbs vibrant. The payoff? Meals that taste nearly as good as day one.
For more foundational kitchen wisdom, check out our kitchen tips and meal prep guides — they pair perfectly with these storage strategies.
The Golden Rule: Cool Down Fast, but Not Too Fast
Here’s where most people slip up: they put hot food directly into the fridge. That’s a no-go. A large pot of soup or stew can raise your fridge’s internal temperature, putting other foods at risk. On the flip side, leaving food on the counter for hours is equally dangerous.
The solution is rapid, controlled cooling. Divide large portions into smaller, shallow containers. A wide, flat dish cools much faster than a deep pot. You can also use an ice bath — place the pot in a sink filled with cold water and ice, stirring occasionally.
Once the food stops steaming (usually within 30 to 45 minutes), it’s safe to move it to the refrigerator. Stick to the two-hour rule: perishable food should not sit out longer than two hours total. If your kitchen is over 90°F, cut that to one hour.
Choosing the Right Containers for Every Type of Leftover
Not all containers are created equal. Glass containers with airtight lids are my top pick. They’re non-porous, don’t absorb stains or smells, and go from fridge to microwave seamlessly. For soups and saucy dishes, look for containers with snap-lock lids to prevent leaks.
If you prefer plastic, choose BPA-free options labeled “freezer-safe.” Thin takeout containers are fine for one night but degrade quickly. And never store acidic foods (like tomato sauce) in aluminum — it reacts and alters the flavor.
Here’s a quick cheat sheet:
- Glass containers: Best for reheating, long-term fridge storage, and acidic foods.
- Plastic containers (BPA-free): Lightweight, good for dry leftovers and lunches on the go.
- Stainless steel: Excellent for meal prep, but not microwave-safe.
- Silicone bags: Great for freezing small portions or marinating.
When you’re batch-cooking for the week — like a big batch of healthy special diet recipes — having the right containers makes meal prep safety effortless.
Refrigerator Organization: Where to Place What
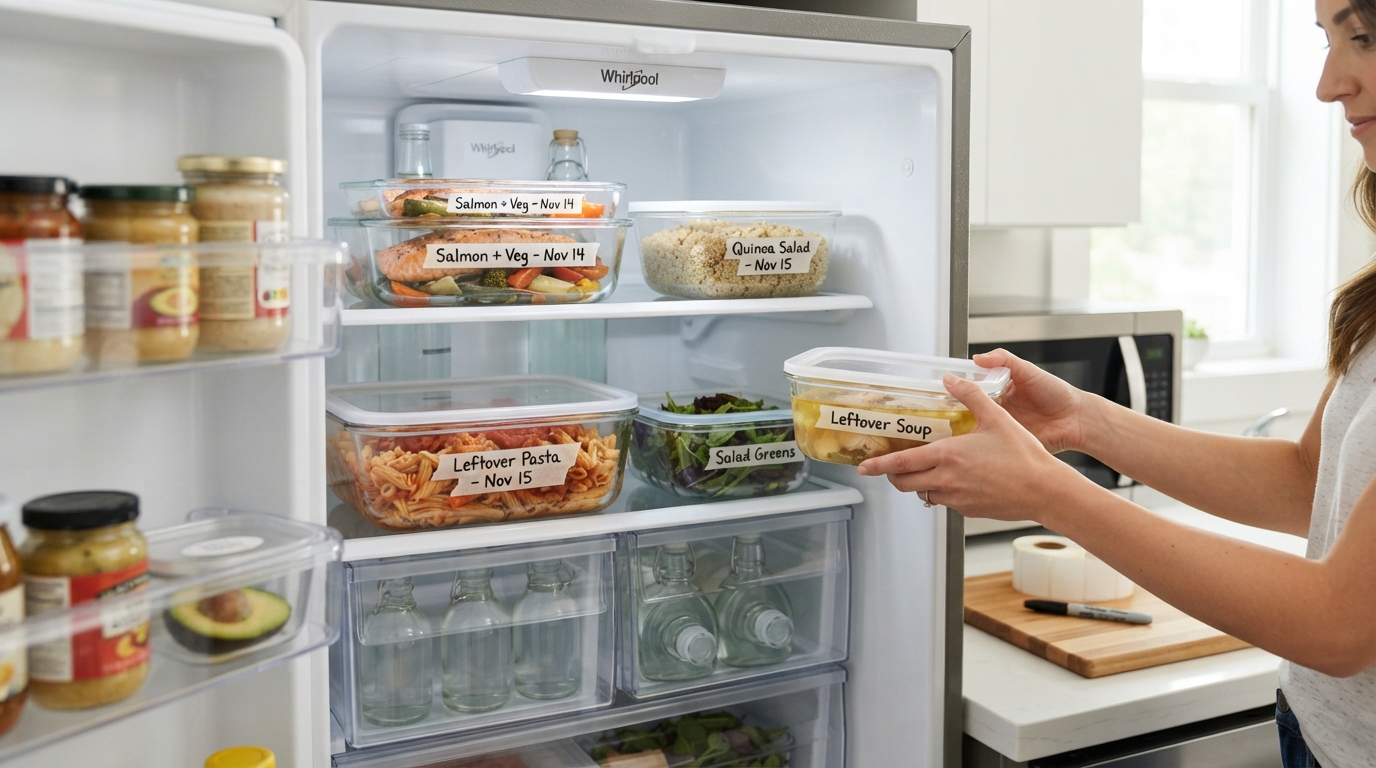
Your fridge has temperature zones. The door is the warmest spot, so keep condiments and juices there — not eggs or dairy. The back of the middle and bottom shelves is the coldest, which is perfect for raw meat and leftovers.
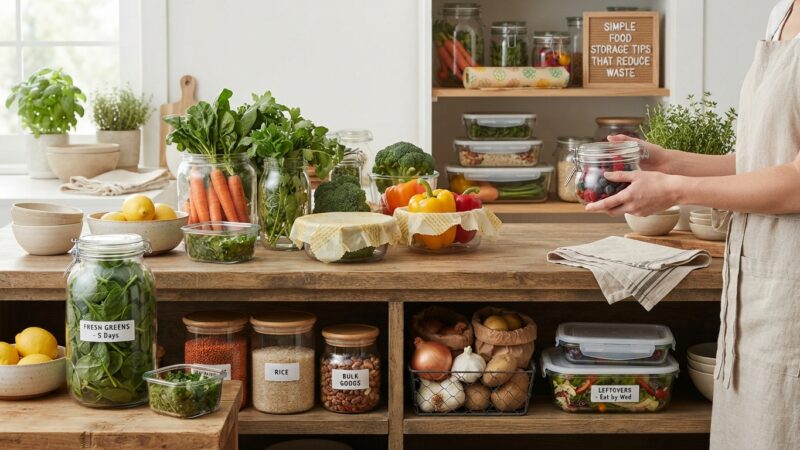
Store leftovers on the top or middle shelf, away from raw proteins, to avoid cross-contamination. Use clear containers or label them with masking tape and a marker. Include the date so you don’t play guessing games later.
Here’s a handy reference for fridge placement:
| Zone | Best For | Avoid |
|---|---|---|
| Door | Condiments, butter, drinks | Eggs, milk, leftovers |
| Top shelf | Leftovers, ready-to-eat foods | Raw meat |
| Middle shelf | Dairy, eggs (in carton) | Open containers without lids |
| Bottom shelf (coldest) | Raw meat, poultry, fish | Anything you’ll eat without cooking |
| Crisper drawers | Fruits and vegetables | Moisture-sensitive leftovers |
Good refrigerator organization isn’t just tidy — it’s a core part of food storage tips that keeps your family safe.
Freezing Leftovers: Extend the Life Without Sacrificing Quality
Freezing is your best friend for long-term storage. Most leftovers last 3 to 4 days in the fridge, but freezing gives you months. The trick is to prevent freezer burn — that dry, icy texture that ruins flavor.
First, cool the food completely before freezing. Then, pack it in airtight, freezer-safe containers or heavy-duty freezer bags. Remove as much air as possible. For liquids like broth or sauce, leave a little headspace because they expand as they freeze.
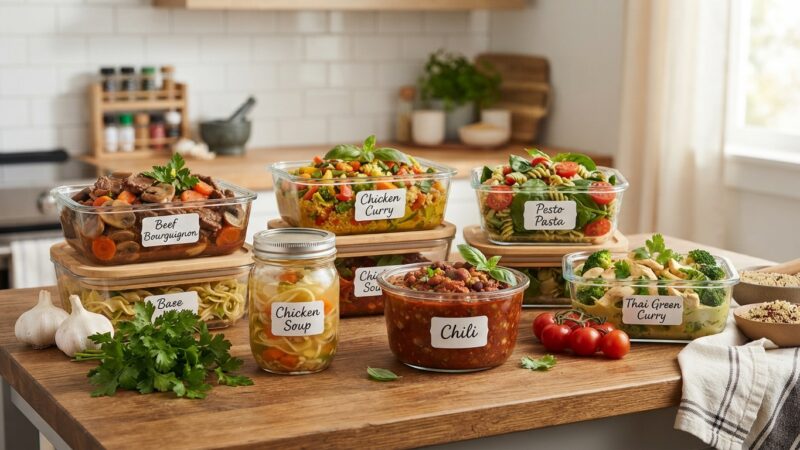
Portion control matters here. Freeze individual servings in small containers or silicone muffin trays. That way, you only thaw what you need. Label everything with the name and date — frozen chili from November looks exactly like frozen chili from January.
If you love baking and want to freeze cookie dough or banana bread, check our desserts and baking section for specific timing and wrapping tips.
How to Reheat Without Ruining Your Meal
Storing leftovers well only matters if you reheat them properly. The microwave is fast but can turn chicken into rubber. For crispy foods (like roasted vegetables or fried chicken), use the oven or an air fryer at 350°F for 10 to 15 minutes.
Soups, stews, and saucy pasta reheat beautifully on the stovetop over medium-low heat. Add a splash of water or broth if it’s too thick. Always reheat leftovers to an internal temperature of 165°F — use a food thermometer if you’re unsure.
For meal preppers who enjoy rotating cuisines, from stir-fries to curries, our international cuisine collection has reheating hacks for each dish style.
Common Leftover Mistakes (and How to Avoid Them)
Even experienced cooks make errors. Storing food in large, deep containers is a big one — the center stays warm too long, breeding bacteria. Always split large batches into shallow portions.
Another mistake: reheating leftovers multiple times. Each time you cool and reheat, quality drops and bacterial risk increases. Only reheat the portion you plan to eat. And never taste-test questionable leftovers — if it smells off, looks slimy, or has been in the fridge longer than four days, toss it.
Finally, don’t skip the labels. Trusting your memory is a gamble. A simple date label saves you from a science experiment you didn’t sign up for. For more safe cooling methods and daily routines, browse our quick and easy recipes — they’re designed to minimize leftovers from the start.
Frequently Asked Questions About Storing Leftovers
How long can leftovers stay in the refrigerator?
Most leftovers are safe to eat within 3 to 4 days. The USDA recommends this window for cooked meat, vegetables, casseroles, and soups. Always check for signs of spoilage before eating.
Can I leave leftovers out overnight if they’re covered?
No. Perishable food should never sit out longer than two hours. Bacteria grow rapidly at room temperature, even if the food is covered. When in doubt, throw it out.
What’s the best way to store leftover rice?
Rice is a common culprit for food poisoning due to Bacillus cereus. Cool it quickly (within an hour), store it in an airtight container, and refrigerate. Eat within 3 to 4 days. Freezing works great too.
Do I need to wait for food to cool before refrigerating?
Yes, but don’t wait too long. Let it cool on the counter for 30 to 45 minutes, then move it to the fridge. Use shallow containers to speed up cooling. Hot food can raise your fridge temperature if placed directly inside.
Is it safe to reheat leftovers twice?
Technically yes, but it’s not recommended. Each reheating cycle degrades quality and increases bacterial risk if the food spends too long in the danger zone. Reheat only what you’ll eat immediately.
Can I freeze leftovers in glass jars?
Only if the jars are tempered for freezing (look for “freezer-safe” labels). Leave at least an inch of headspace for expansion. Avoid filling jars to the brim, or they can crack as the contents freeze.
What is the best container for meal prepping leftovers?
Airtight glass containers with divided compartments are the gold standard. They keep different foods separate, are microwave and oven-safe, and last for years. For high-volume prep, check out this popular meal prep option — it’s built for portion control and freezer durability.
Conclusion: Small Changes, Big Impact
Mastering how to store leftovers is one of the most practical skills in any kitchen. It saves money, reduces waste, and ensures every meal you prep tastes great. From rapid cooling and smart container choices to fridge layout and safe reheating, each step builds a safer, more efficient routine.
Start with one change: use shallow containers and label everything. You’ll be surprised how much easier Tuesday nights become when you’ve got a fridge full of ready-to-eat, delicious food. And if you want to explore even more ways to streamline your kitchen workflow, keep browsing our Kitchen Tips & Meal Prep category — there’s always something new to learn.